Professional Fitting
The 3 Real-Time Fitting Techniques That Give 99% Customer Satisfaction
15 July 2026 · 10 min read · By ONSA
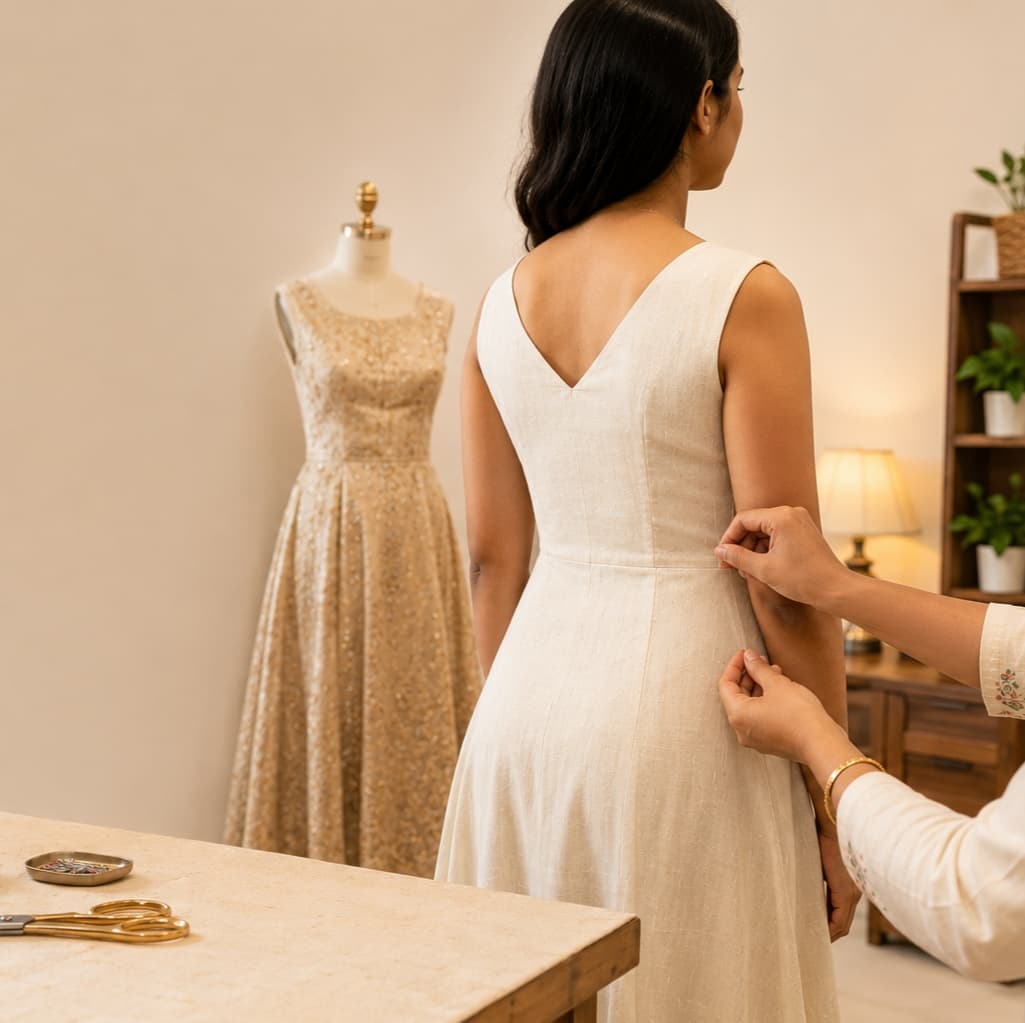
What's the secret to a perfect fit? It's not testing a garment on a dress form. It's making real-time adjustments on the actual client, on the actual body.
ONSA has learned over the years that a truly great fit can come together in just 2-3 sessions — if you use the right techniques. In this blog, you'll learn how to get a client to try on a garment, how to note adjustments, and how to achieve a perfect fit.
What Is Real-Time Fitting, and Why Is It Best?
Real-time fitting means pinning the garment directly on the client's body, making live adjustments, and marking measurements right there. It's neither done on a dress form nor guessed at.
Why is it the best approach? Because every body is different. A swatch book or a mannequin can't show you a client's unique body shape. With real-time fitting, you see exactly how the fabric sits on the client's body, where it pulls, where it's loose. That data gives you the perfect pattern modification.
The 3 Core Real-Time Fitting Techniques
Technique 1: First Fitting — Measurement & Initial Adjustments
What happens: The client puts on the garment (a pattern piece or rough mockup), and you see where it's loose and where it's tight.
Your job:
- • Pin the garment for an exact fit (sides, shoulders, waist)
- • Ask the client whether movement feels comfortable
- • Check the neckline, armhole, and length
- • Mark every adjustment with tailor's chalk (seam lines, darts, waist placement)
- • Take photos (front, back, side) for reference
- • Let the client check the mirror and give feedback
Common issues in the first fitting: Shoulders too wide or narrow, a loose or tight bust area, wrong waist placement, wrong length. All of this gets fixed in real time.
Technique 2: Between Fitting — Stitching & Refinement
What happens here: You accurately stitch everything that was marked in the first fitting, then prepare the garment for the second fitting.
Critical steps:
- • Carefully trace every mark (follow the chalk lines while sewing)
- • Pin the hem temporarily rather than sewing it fully — it gets sewn after the second fitting
- • Stitch darts accurately (otherwise the shape will be thrown off)
- • Stitch all seams properly
Technique 3: Second Fitting — Final Refinement & Perfection
What happens: The garment is now in much better shape, but it may still need adjustments.
Your job:
- • Have the client try it on again
- • Check movement — where it pulls, where there are gaps
- • Confirm the waist placement is perfect
- • Confirm the chest area is comfortable
- • Confirm the length is exactly right
- • Confirm the neckline sits properly
- • Mark any final adjustments
In most cases, no further adjustment is needed after the second fitting. But for a complex design or an unusual body shape, a third fitting may be needed.
Fitting Workflow: Step-by-Step Process
Day 1: First Fitting Session (30-45 minutes)
Prepare ahead of time: Keep the rough-cut garment ready (it doesn't need to be perfectly sewn yet). Have tailor's chalk, pins, measuring tape, a notepad, and a camera all ready.
During the fitting: Have the client try on the garment. Place pins at the sides and shoulders. Mark every key point. Take photos. Ask the client questions. Take notes.
Days 2-5: Between-Fitting Work (stitching at home)
At home: Follow the marks and stitch accurately. Precision matters most here — a 1cm mistake can throw off the entire fitting.
Day 6: Second Fitting (30 minutes)
Try it on again: The garment should fit better now. Mark any final adjustments. In 95% of cases, this is the final fitting. Confirm the length before final-stitching the hem.
Client Communication During Fitting
Ask the right questions:
- • "Is the movement comfortable?" (not "Does it look good?")
- • "Where does it feel tight?" (is it a fabric issue or a fit issue)
- • "Is the shoulder area comfortable?" (how much does it extend)
- • "Is the length perfect, or does it need to be shorter/longer?"
- • "Where does it sit at the waist?"
- • "Sitting, standing, raising your arms — is it all comfortable?"
Getting honest feedback from the client is critical. Let them tell you the problem comfortably, in whichever language they're most comfortable in. Then you provide the technical solution.
Skill Levels: Basic to Professional
Basic: Simple styles, clear body shapes, one fitting enough
Intermediate: Multiple styles, complex bodies, always 2 fittings
Professional: All styles, all body types, 95% accuracy from the first fitting itself, client satisfaction guaranteed
Common Fitting Mistakes
❌ Mistake 1: Over-Pinning
Too many pins hide the garment's natural drape. Use just enough pins for control.
❌ Mistake 2: Wrong Marking
Mark with chalk right where you remove a pin. If you delay, the marks can shift.
❌ Mistake 3: Not Documenting
Take photos, notes, and measurements. It avoids confusion later, especially with multiple clients.
❌ Mistake 4: Ignoring Comfort Feedback
If a client says "this is tight" but you think it's necessary for the design, explain why. Either offer a compromise or change the design.
FAQ: About Real-Time Fitting
Q: What if the customer has a complicated body shape?
Fit even more carefully. You might need 3 fittings. But the result will be perfect.
Q: What if the customer changes their mind partway through stitching?
This is exactly why real-time fitting exists — there's room for changes. You can try changes out on muslin mockups first.
Q: Are 2 fittings always enough?
For simple designs, even 1 fitting can be enough. Complex designs or unusual shapes may need 2-3.
Master Real-Time Fitting Techniques?
In ONSA's courses, you'll learn exactly how to do real-time fitting with actual clients.
ONSA — Online Sewing Academy has taught how real-time fitting achieves 99% customer satisfaction. It's an art, and practice makes it perfect.